Injection Molding Fundamentals: Process, Cost, and Quality Tips
Injection molding is one of the fastest and most reliable ways to mass-produce plastic parts. If you’re sourcing parts for automotive, appliances, industrial components, or consumer products, understanding the basics can save you time, money, and a lot of rework.
Below is a clear, practical guide to how injection molding works, what affects cost and lead time, and how to avoid common issues.
1) What is injection molding?
Injection molding is a manufacturing process where plastic pellets are melted and injected into a mold cavity under pressure. After cooling, the part is ejected and the cycle repeats—often in seconds.
It is ideal for:
- Medium to high-volume production
- Tight repeatability (same part, same quality)
- Complex geometries (ribs, snaps, bosses, textures)
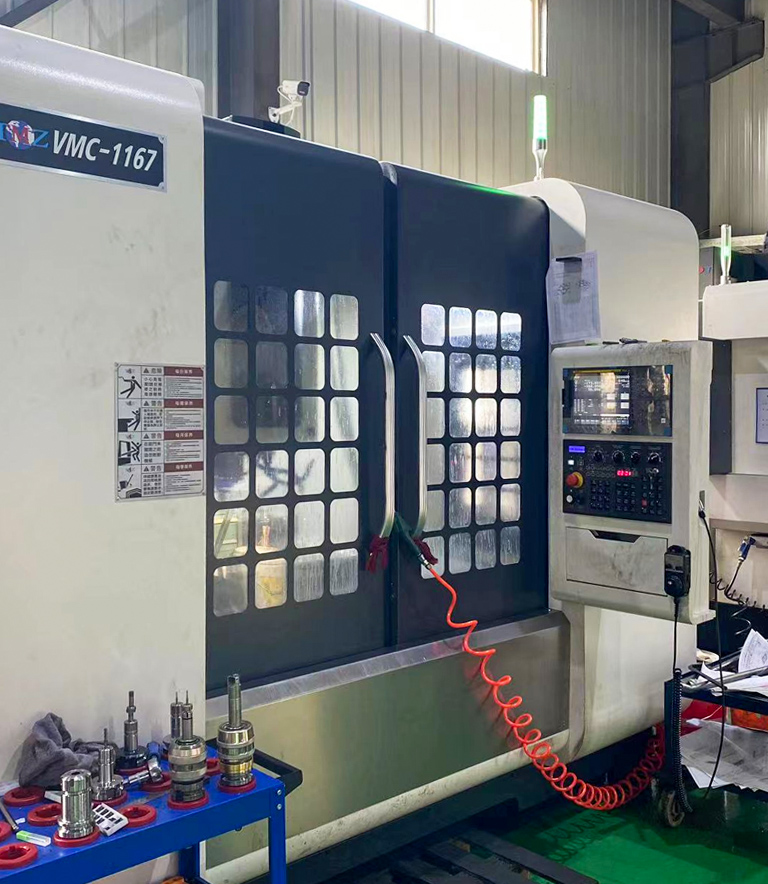
2) The injection molding process (step-by-step)
Step 1 — Material drying (if needed)
Some resins (e.g., PA/Nylon, PC, PET) absorb moisture. If not dried properly, you may see splay marks, bubbles, or weak parts.
Step 2 — Plasticizing (melting)
Pellets enter the barrel and are heated and mixed by the screw until fully molten.
Step 3 — Injection & packing
Melt is injected into the mold cavity. Then packing pressure compensates for shrinkage while the gate freezes.
Step 4 — Cooling
Cooling usually takes the most time. Mold cooling design strongly affects cycle time and warpage.
Step 5 — Ejection & inspection
The part is ejected. For production, parts are checked for key dimensions, appearance, and function.
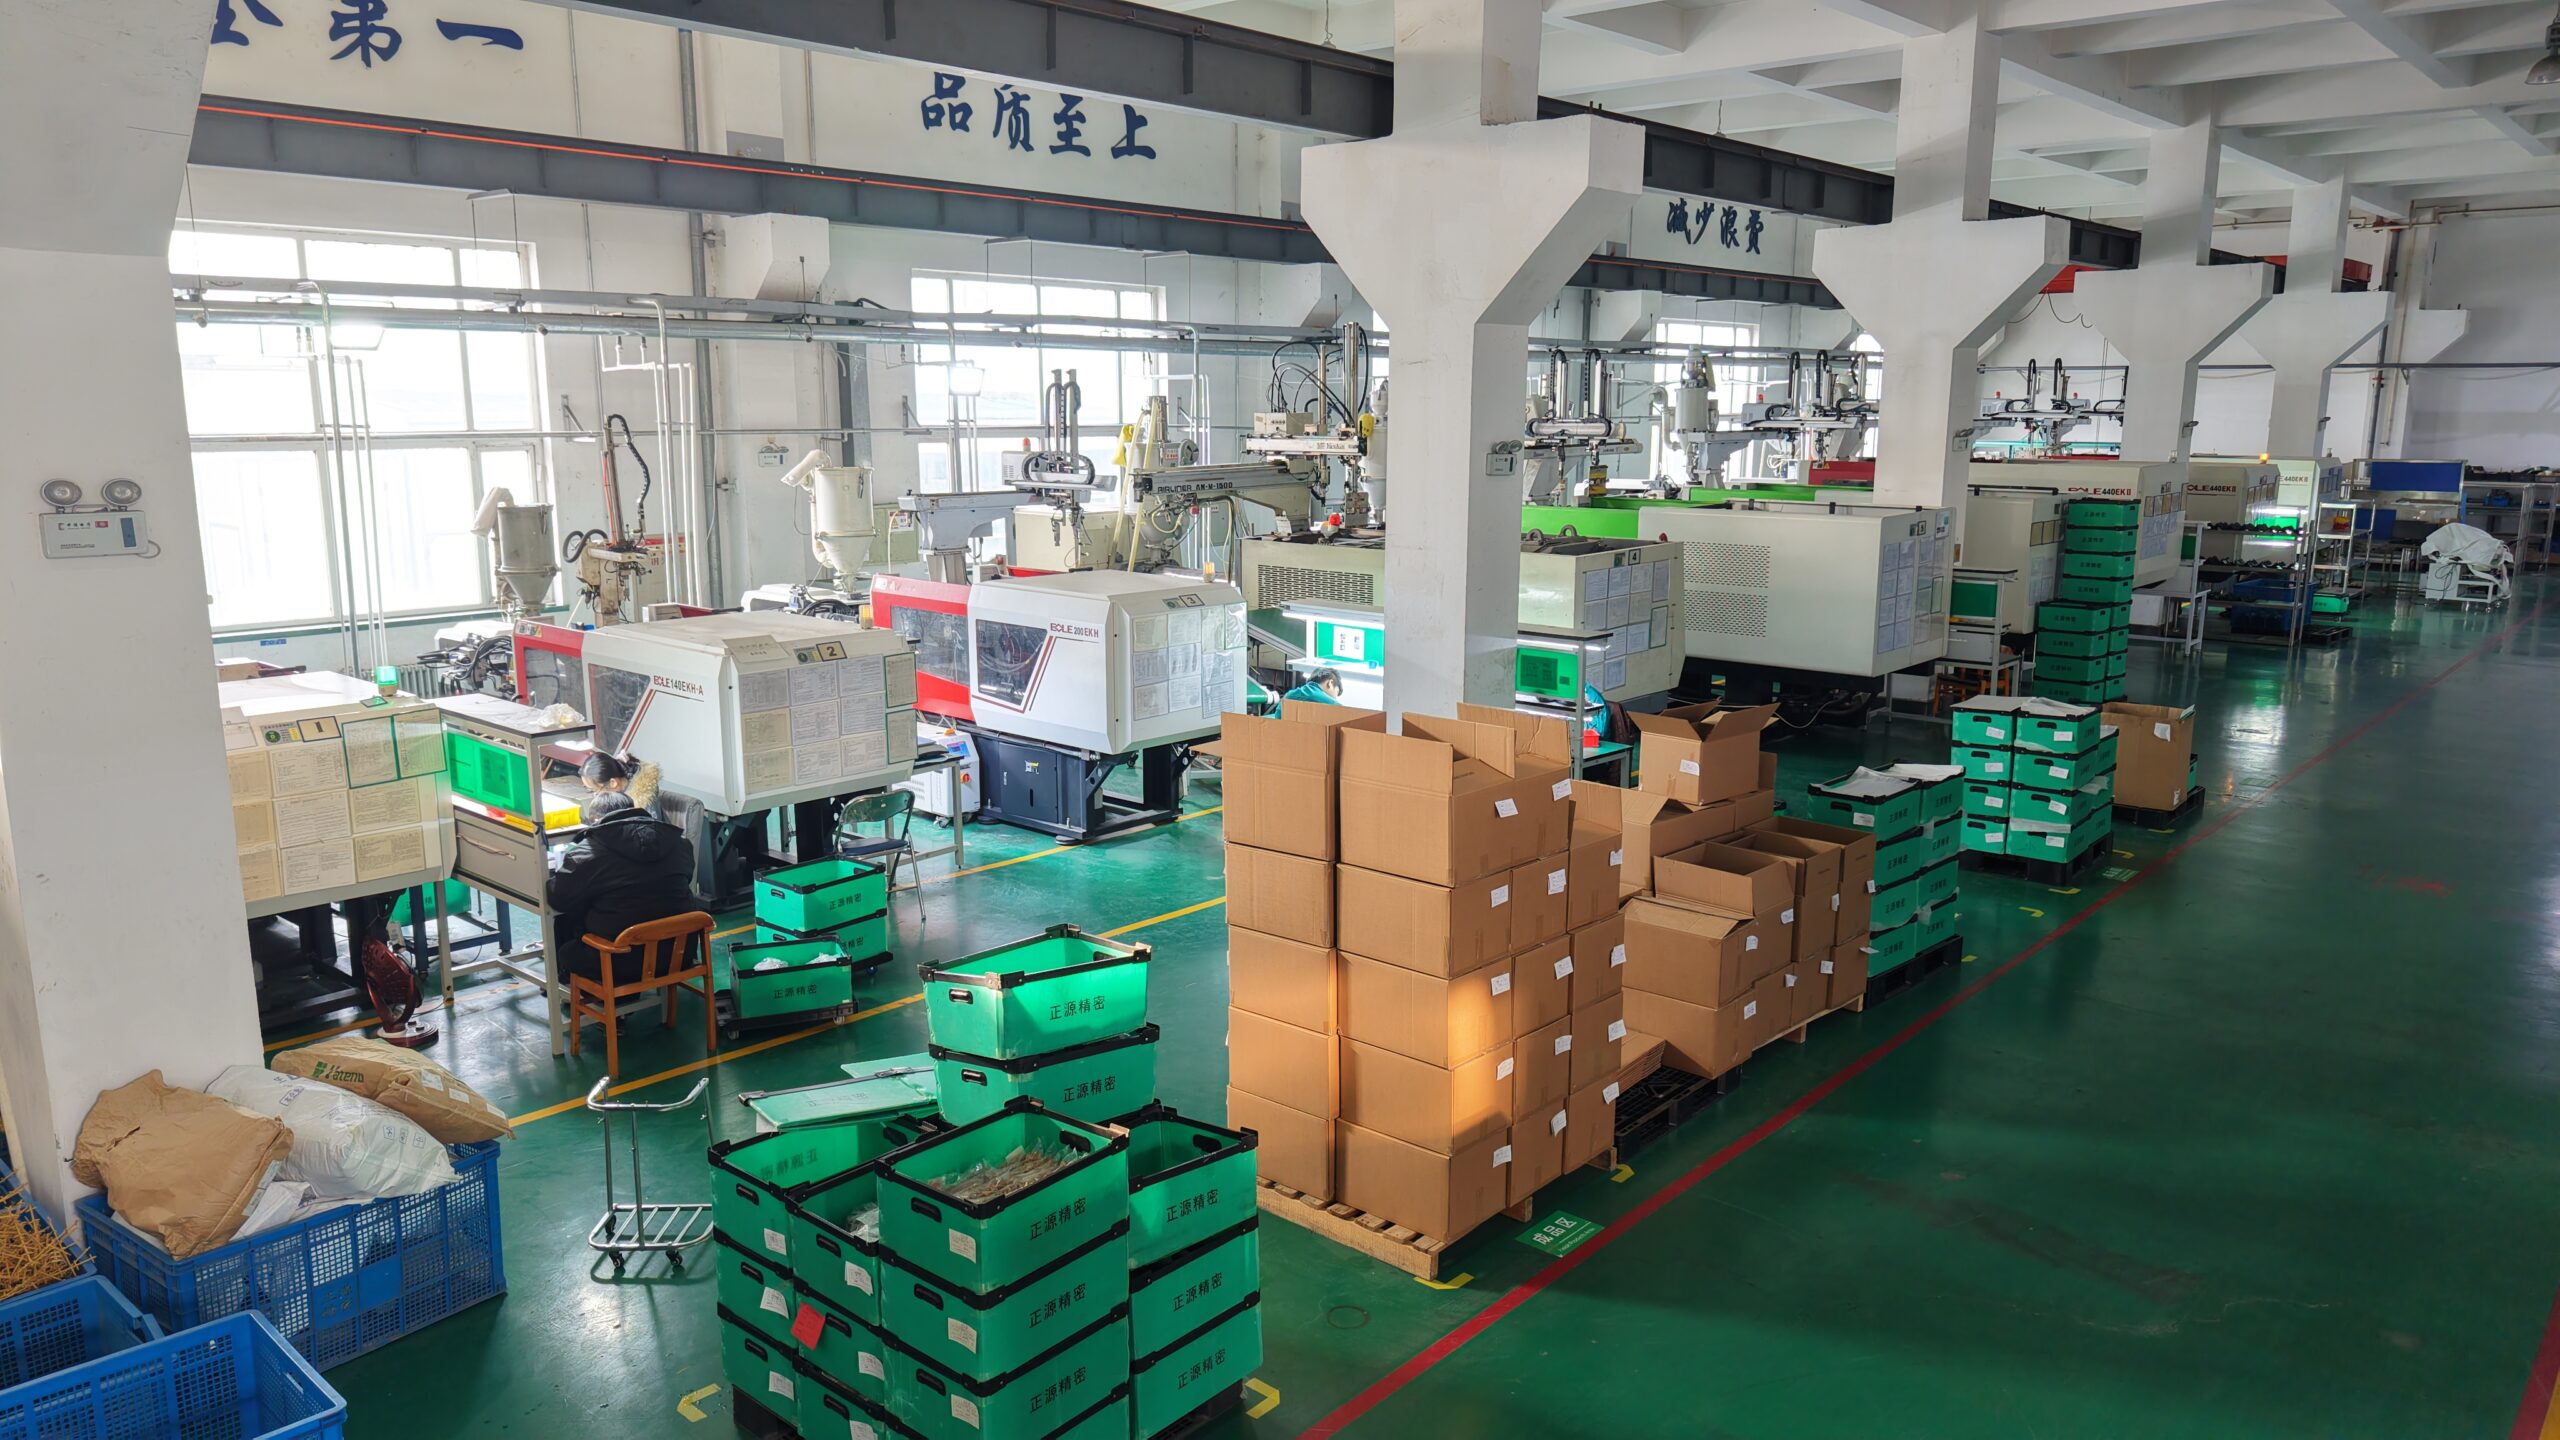
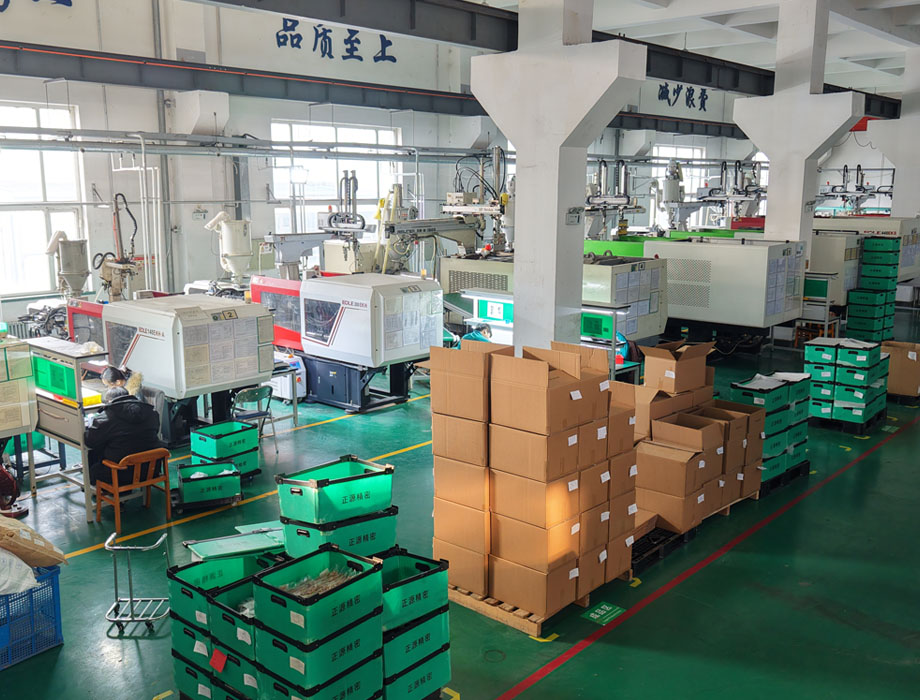
3) What determines part cost?
The main cost drivers are:
- Mold cost: steel type, cavities, complexity, slides/lifters, texture
- Cycle time: cooling time, part thickness, material
- Material: resin grade (virgin vs recycled), additives, color
- Volume: unit price decreases as volume increases
- Secondary processes: printing, plating, assembly, ultrasonic welding
Quick rule: If you reduce cycle time and improve yield (less scrap), your part cost drops quickly.
4) Typical lead time
- Prototype tooling: ~7–20 days (depends on complexity)
- Production tooling: ~20–45 days (common range)
- First sampling (T0/T1): after mold completion
- Mass production: after sample approval
Lead time can be shortened when DFM (Design for Manufacturing) is done early.
5) Common defects and how to prevent them
- Warping: uneven cooling, too thick walls, poor gate location
- Sink marks: thick sections, insufficient packing
- Short shot: low injection speed/pressure, thin walls, venting issues
- Flash: parting line mismatch, worn mold, too high pressure
- Weld lines: multiple flow fronts, low melt temperature
Best prevention steps:
- Keep wall thickness uniform
- Add proper draft angle
- Use ribs instead of thick walls
- Confirm gate type/location with your supplier
6) What info should you send for a fast quotation?
To get an accurate quote quickly, prepare:
- 3D file (STEP/IGES preferred)
- Material requirement (or application & environment)
- Color and surface finish
- Annual volume / target order quantity
- Any critical dimensions & tolerance requirements
- Assembly method (screws, snaps, inserts, welding)
Need help selecting the best process?
If you share your 3D file and application, we can suggest the right resin, mold structure, and cost-saving DFM improvements.
Contact us for a quick technical review and quotation.